When you scan and convert your paper documents to a digital format, you make it easier and more effective to share, archive and manage your documents. PDF is the most popular file format used for scanned documents. Other common formats are JPG and PNG. As we all know, it’s easy to edit a Word document. But how do you edit a scanned document on a Mac? There are two common methods.
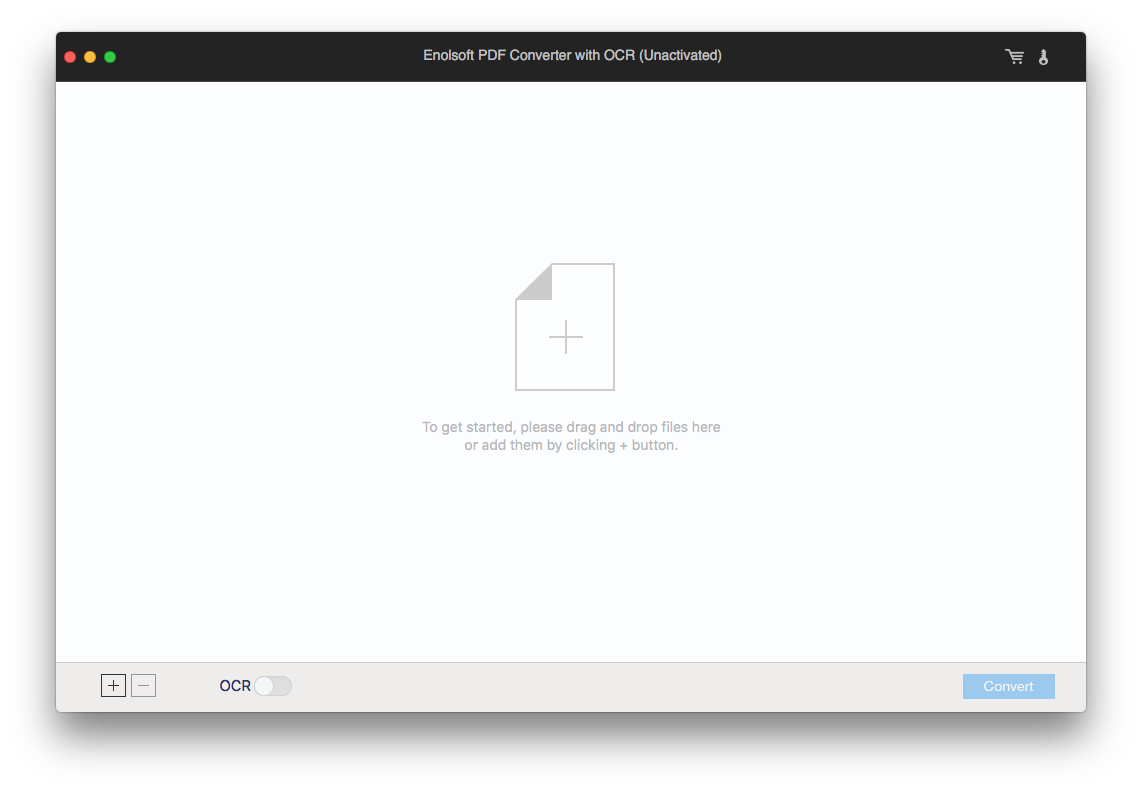
You can scan a paper document to a PDF, JPG, BMP, or TIFF etc. file. To easily edit a scanned PDF or image document, you can first convert it to a Word document. If the scanned document only contains a table, you can convert it to Excel for effortless editing. Enolsoft PDF Converter with OCR can do these and more for you!
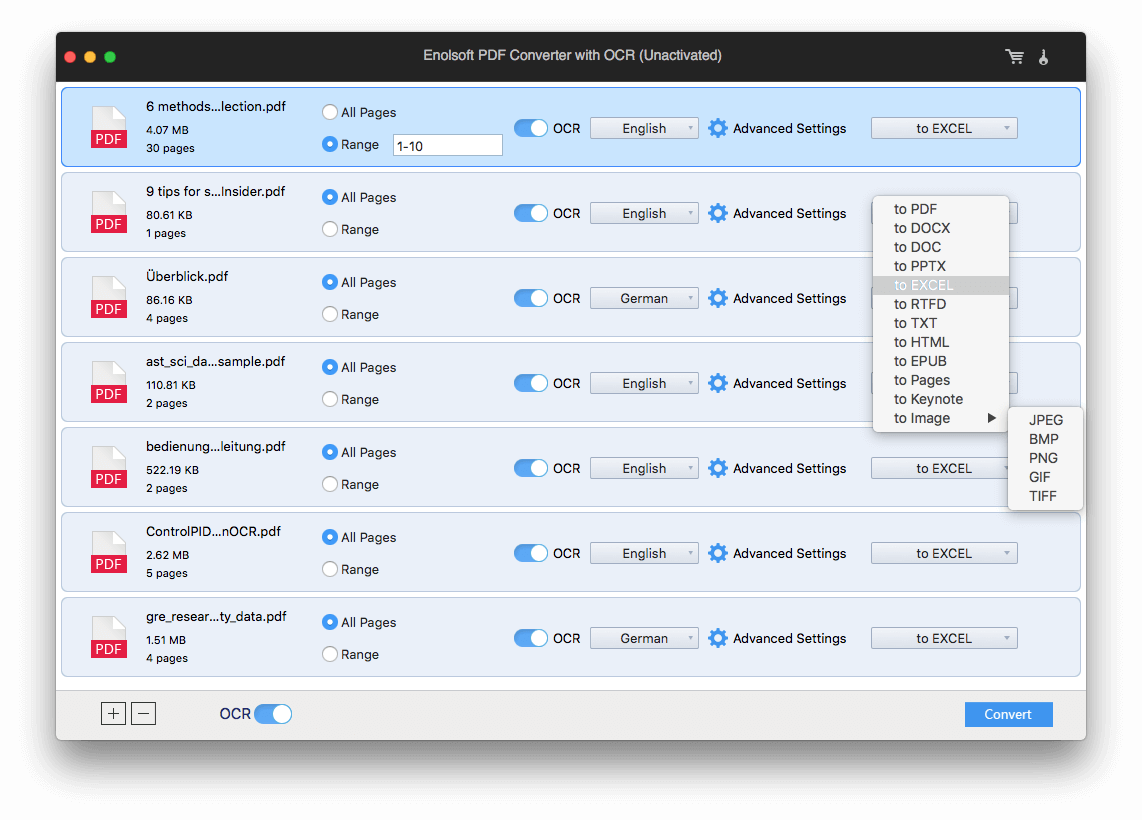

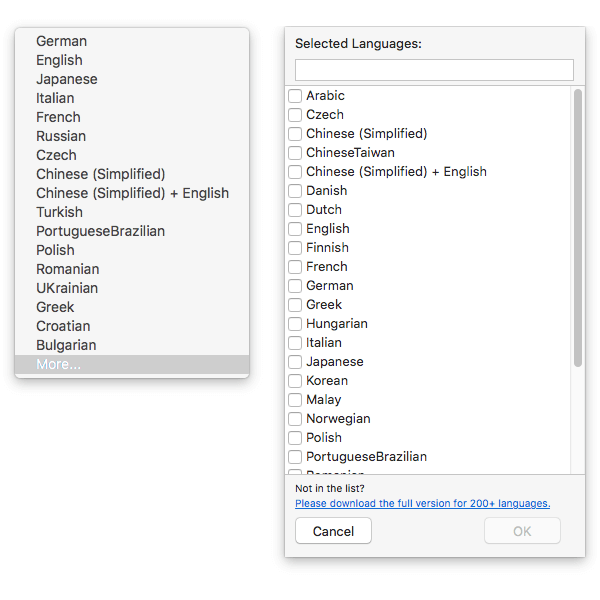
If the scanned document is in a foreign language, you need to select the OCR recognition language. To do so, click the language dropdown list next to Advanced Settings. Select a language (or a combination of languages).
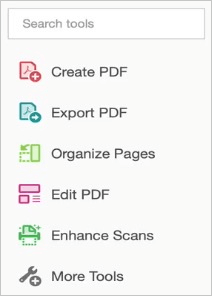
Adobe Acrobat is a powerful PDF editor, enabling you to edit a scanned PDF document, a scanned image document, etc. Once you use its OCR feature to turn a scanned paper document into an editable PDF file, you can then use its editing tools to edit the text and images in the editable file.
Adobe Acrobat comes in different versions. To deal with scanned documents, you need to get Acrobat Pro DC. This PDF editor is versatile and easy to use. However, it’s expensive. If you think it isn’t worth investing in, you can consider cheap apps that can also get the job done.
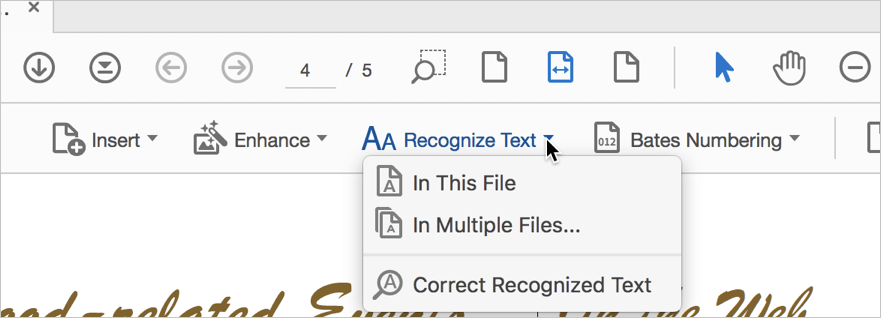
With Acrobat Pro DC, there are two ways available on how to edit a scanned document on Mac.


Alternatively, you can turn the scanned document into an editable PDF first using the Scan & OCR feature.
Both methods above let you effortlessly change text on a scanned document. Now consider this scenario. A scanned paper document contains the text content you need. You aim to extract text, change text and then use the edited text for certain purposes.
In such a case, you can consider this free way to edit a scanned document on Mac.
.jpg)
In the same way, you can also edit text in a screenshot on Mac.
This web-based OCR service is free to use. It does a relatively good job of dealing with text content. You can use it for scanned documents that contain content with little formatting. However, there are a few downsides.
Some Mac users wonder if they can edit a scanned document in Pages, a word processor included in macOS, iOS and iPadOS. The short answer is no. But you can easily insert a scanned JPG document or scanned PDF document, etc. into a Pages document.
To be able to handle a scanned document, a software or service should have the OCR (optical character recognition) feature. Pages don’t have it.
If needed, you can use the first method to convert a scanned paper document to an editable Word document and then edit the document in Pages. Pages supports opening and editing Word documents.
This article mainly talks about how to edit a scanned document on Mac. Regardless of the format, a scanned document is basically a photo of the paper document. To be able to edit it, you first need to make the document editable. The methods recommended here are easy to follow. They offer useful features and options to help you get the job done efficiently on a MacBook Pro, MacBook Air, iMac, etc.
Copyright © 2024 Enolsoft Inc. All rights reserved. Privacy | Sitemap